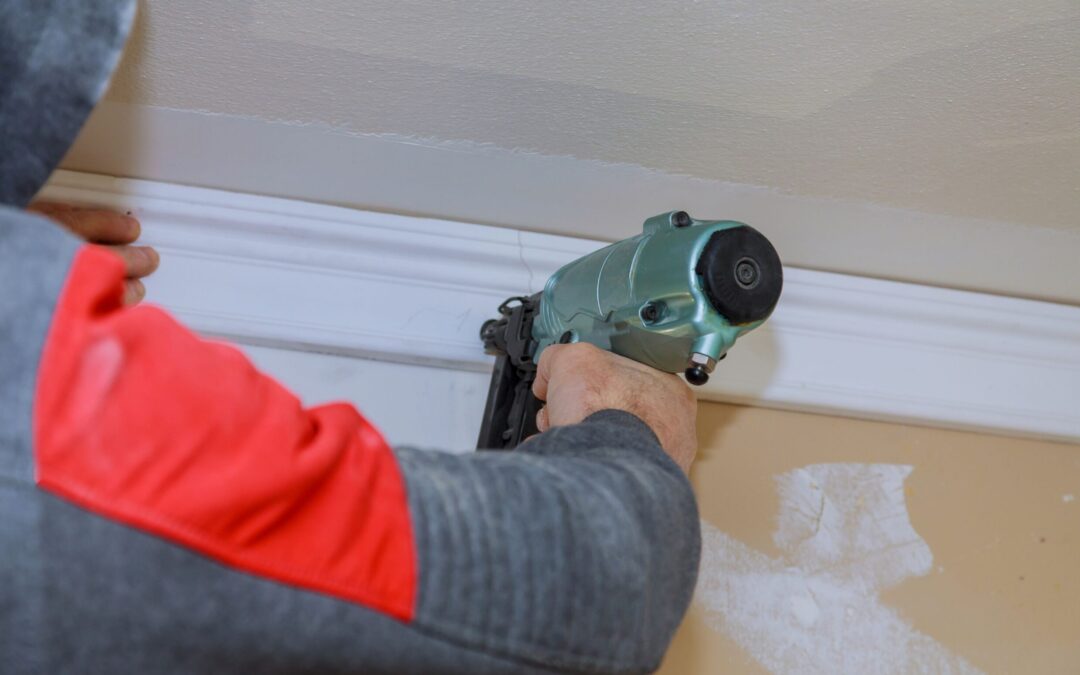
Are you a carpenter or contractor struggling with trim and moulding installations on uneven walls or tricky corners? You’re not alone—many job sites present challenges that can make a flawless finish seem impossible. But with the right knowledge and techniques, you can overcome these obstacles and deliver perfect results.
In this blog post, we’ll explore common issues like uneven walls and corners you may face on the job. We’ll also share expert solutions to help you achieve a professional finish every time. With these tips, you’ll be ready to confidently tackle any trim and moulding challenge.
Let’s get started and take your skills to the next level.
Addressing Uneven Walls for a Perfect Finish
To achieve a flawless trim and moulding installation on uneven walls, follow these steps:
- Examine the Wall: Start by checking the wall’s surface with a level or straight edge to identify uneven areas.
- Address Uneven Sections: Once you’ve found the problem spots, use shims or spacers to fill any gaps and create a level base for the trim.
- Use a Scribing Tool: A scribing tool helps you trace the wall’s contours onto your trim, ensuring a precise fit that accommodates any irregularities.
- Adjust and Adapt: This process isn’t just about fixing problems—it’s about enhancing your work’s quality to meet high craftsmanship standards.
By carefully assessing and addressing uneven walls with these methods, you can achieve a stunning and professional finish.
Achieving Seamless Corners with Precision
Mastering seamless corners in trim and moulding installation showcases precision and expertise.
For interior corners, the key is the coped joint technique. This involves cutting one piece of trim at a 45-degree angle with a miter saw, then using a coping saw to shape it to fit the contour of the adjoining piece. This method ensures a snug fit even if walls aren’t perfectly square.
For exterior corners, precision is equally important. Here, miter cuts are used, with each piece cut at the exact complementary angle, usually 45 degrees, to form a perfect 90-degree corner. Using a miter saw accurately is crucial for creating sharp, clean, and professional-looking corners. This technique enhances both the appearance and durability of the trim, preventing separation over time. By mastering these methods, you achieve seamless corners that reflect true craftsmanship in trim and moulding installation.
Proper Tools and Materials for Efficient Installation
Having the right tools and materials is crucial for successful trim and moulding installation.
Essential Tools:
- Miter Saw: Creates crisp, clean cuts for both straight lengths and corners.
- Coping Saw: Handles intricate shapes and curves, ensuring a precise fit against wall contours.
- Scribing Tool: Helps adapt trim to uneven walls, ensuring a perfect match with the surface.
Additional Tools:
- Levels, Shims, and Spacers: Essential for achieving a balanced and visually pleasing result, addressing any natural imperfections on site.
Materials:
- High-Quality Trim and Moulding: Ensures durability and a premium finish, enhancing the overall aesthetic of any space.
Using these tools and materials not only boosts efficiency but also adds a level of professionalism and excellence to your project.
Effective Techniques for Caulking and Finishing
Achieving a sleek, professional look in trim and moulding installations requires skilled caulking and finishing techniques.
Start with caulking to fill any gaps and imperfections, ensuring a seamless integration between trim and wall. Use a high-quality caulking gun to apply the caulk precisely along the seams. Apply the caulk consistently and control its application, smoothing it immediately with a damp finger or tool to avoid lumps or uneven lines.
Once the caulking is done, focus on the finishing touches to elevate the craftsmanship. Lightly sand the trim to remove any rough spots, preparing a smooth surface for painting. Choose the right paint and apply it carefully to enhance both appearance and protection. This final stage is about refining your work, paying close attention to details to achieve a finish that stands out for its quality and durability. Mastering these finishing techniques demonstrates your commitment to excellence and leaves a lasting impression of professional skill on every project.
Troubleshooting Common Mistakes and Pitfalls
In trim and moulding installation, even with careful planning and execution, errors can occur. Addressing these challenges with strategic solutions is essential for maintaining a professional standard.
For example, gaps between trim pieces—a common issue—can be managed with wood filler or high-quality caulk. Smooth out these gaps to achieve a cohesive appearance. Uneven joints, another frequent problem, may require reassessing cutting angles or refining the use of a coping saw to ensure a precise fit. Splintered edges can be corrected with careful sanding and finishing, restoring the trim’s smooth texture and appearance.
Approaching these issues with a problem-solving mindset is crucial. By applying your expertise and using the right techniques, you can correct imperfections and ensure that each project reflects high professionalism and attention to detail. This proactive approach enhances your reputation for quality workmanship.
Partner with Aaron and Co. Millwork to elevate your projects.
Enhance your trim and moulding projects with precision and expertise. At Aaron and Co. Millwork, we offer the support you need to overcome installation challenges and achieve flawless results. Contact us today to elevate your craftsmanship and impress your clients with beautifully finished spaces.

